Welcome!
Simple, healthy solutions for a vibrantly natural life… even if you’re chronically overwhelmed
For more than 15 years, Keeper of the Home has equipped and encouraged homemakers who want to make healthy changes in their homes and carefully steward all they’ve been given. We’re passionate about helping families live more naturally and eat more real, whole foods – without overwhelm and without going broke.
We’re proud of the reputation we’ve earned for being willing to ask hard questions, weigh pros and cons, dive deep into academic research to ferret out facts so we can help you make informed decisions, and do it all with a whole lot of grace.
We’re firmly dedicated to the belief that there is more to life than overwhelm and that simple and natural is best.
Choose where to start:
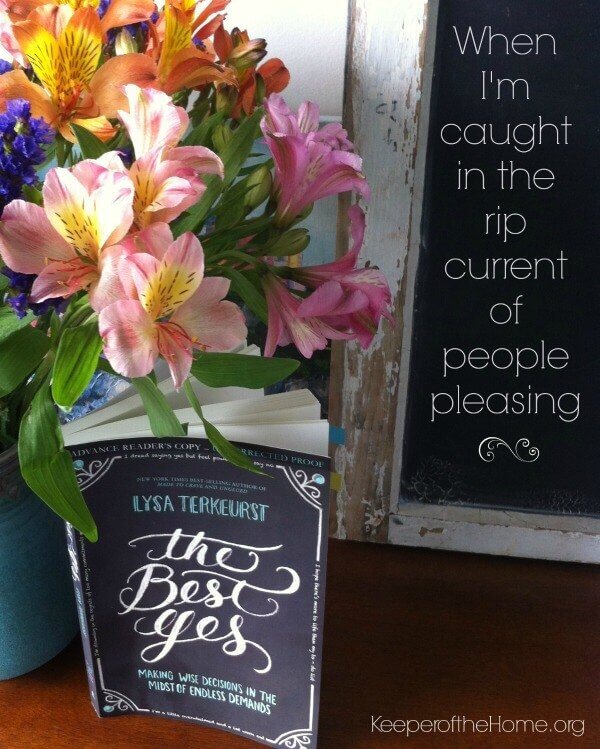
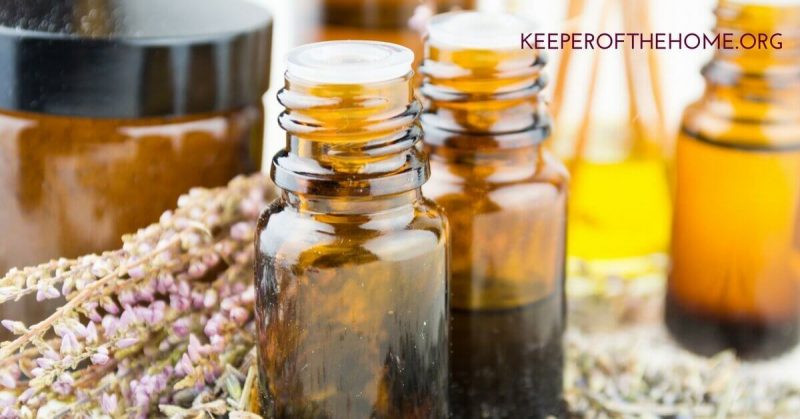
I want to learn how to use herbs & essential oils more >>
I want to dive deep into understanding healthy eating >>
I want easy ways to nourish my family >>
I want help nurturing my family >>
I want simple solutions for running my home well >>
I want to know more about daily natural, non-toxic living >>
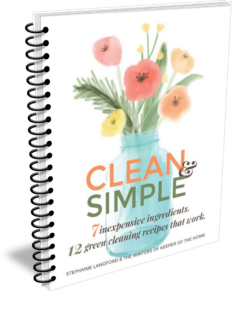
Join the thousands of subscribers
who have said “yes!” to simple, healthy living…
…and get Clean & Simple, our quick start guide for non-toxic cleaning, delivered straight to your inbox.
Hi, I’m Kresha!
I’m an author, herbal educator, and busy mom of four on a mission to make natural, purpose-filled living SIMPLE – or at least, simpler.
As a busy mom, wife, homeschool teacher, volunteer, and business owner, I know exactly what it’s like to try to keep all the balls in the air. Life is often hard – and even more so when you’re striving to be intentional and thoughtful as you raise your children and make natural living second-nature in your home.
No matter whether you’re wanting to create a sustainable off-grid homestead in the country or a healthy urban oasis in your tenth-floor apartment, if you’re passionate about feeding your family well, making mindful decisions about your family’s purchases, raising your children to be compassionate and rigorously inquisitive, about living free of the toxins and chemicals that surround us in our daily lives, and about making a difference in the world – then you’re in exactly the right place. 😊
You can see more about what we do HERE.